Optin Manager Setup
A well scrubbed distribution list requires two levels of authentication, email verification and consent, and Opt-in Manager provides you the tools for both.
The Opt-in Manager is a software application & online service that takes only a couple of minutes to setup before you can be broadcasting your pre-written opt-in request emails to all your contacts quickly and easily. No HTML, merge mail, or Outlook experience required!
Once Opt-In Manager updates your database to reflect your contact’s opt-in permissions, you can create your new marketing groups within Act! that includes this consent, and be confident you’ve exercised due diligence in complying with GDPR and CASL.
Please note, Keystroke is not qualified to offer legal advice, so each person is responsible for ascertaining their own CASL & GDPR compliance requirements.
Features
- Windows app allows you to prepare, edit and send your opt-in request to your Act! lookup. As you send, it will also prompt you to select current contact, current lookup, or all contacts
- NEW! Before your first send, Opt-in Manager integrates with Briteverify.com to authenticate the email addresses in your list as valid (BriteVerify fees extra)
- Both the send request and your contact's response to it are recorded in Act! in a manner that verifies the authenticity of the permission
- The software allows you to generate a unique online link for any contact in your database. This allows you to reply to an email with a contact's unique link, thus simplifying the process
- Sync the online results with your database at the click of button, and get a report on how many contacts were updated
- Customize your online opt-in request page with your own branding and message
Setup
In order to use Optin Manager, a custom field and dropdown menu must be created. This operation can only be performed on the machine hosting the database.
If you are hosting the Act! database on your own machine, please install Optin Manager on your computer and proceed to the Initial Setup section below. If your Act! database is hosted on a different computer such as a server, or shared PC, then you will need to perform the Initial Setup on a machine that has direct access to this server. If your database is hosted by a third party hosting company and you are using a remote database, please contact your hosting provider so they can assist you with the initial set up. Once the steps in the Initial Setup section have been performed, you may move on to the Configuration section.
Note: Please create a backup of your database prior to beginning with the initial setup section.
Initial Setup
- Install Optin Manager on a workstation machine that has direct access to the server hosting the database.
- After logging in to Act!, you will be presented with the Optin Manager activation window. Enter your license key and click the Add button to add your Act user to the licensed users list.
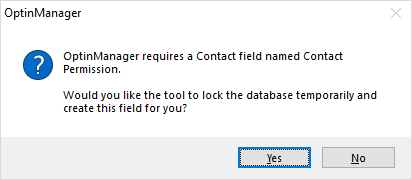
- If logged in as an Administrator, you will be prompted to create a custom field. Click Yes to lock the database and create the field automatically. If you already have a character field in the database that you have used previously to record Contact permissions, click No and select this existing field as described below in the article.
- Once the field is created, please add the "Contact Permission" field to your Contact layout.
Adjusting Contact Layout
The Act Contact layout can be modified by users with roles of "Manager" or "Administrator". To add a field to the Contact layout, follow the steps below:
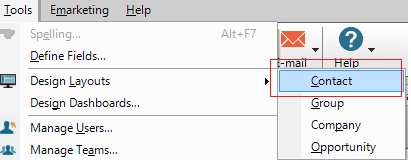
- Click the menu Tools > Design Layouts > Contact. This will open up the layout editor and your current layout will be made available for editing.
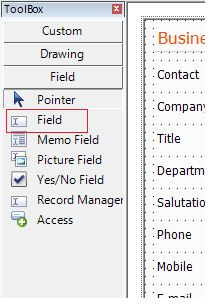
- When the layout editor loads, click the Field button from the toolbox on the left side of your screen.
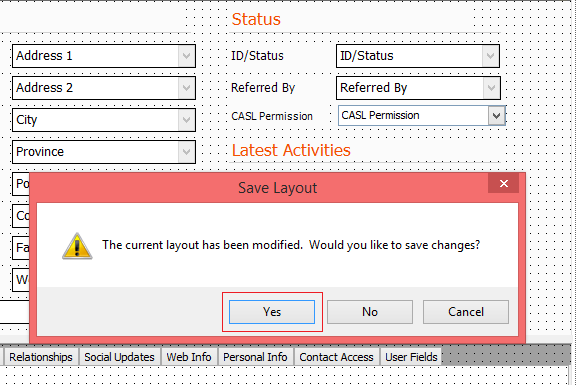
- Next, click on an area of your layout where you want to place the new field. This will open up a popup window with a list of available fields. In this example, we will click just below the Referred By field. Note: You may only add a field to the layout once.
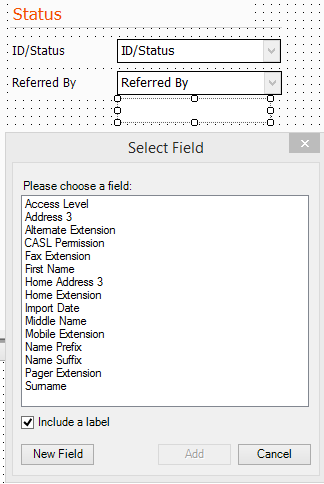
- Select the field from the list and press the Add button.
- You may now drag and drop the field or the field label to the position of your liking.
- Once you are happy with the placement, close the Layout Editor window, and press Yes to save your changes.
- Once the layout editor is saved and closed, you will see the field on your Contact layout.
Configuration and Sending Emails
- Once logged in to the database, create a lookup of Contacts whom you wish to send the contact permission email to.
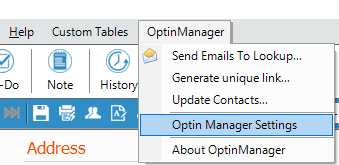
- Click the menu Optin Manager > Optin Manager Settings
- In the Account ID field, enter your account ID. This ID can be retrieved by creating an account on www.optinmanagement.com. Click the Create Account link to visit the Optin Manager website.
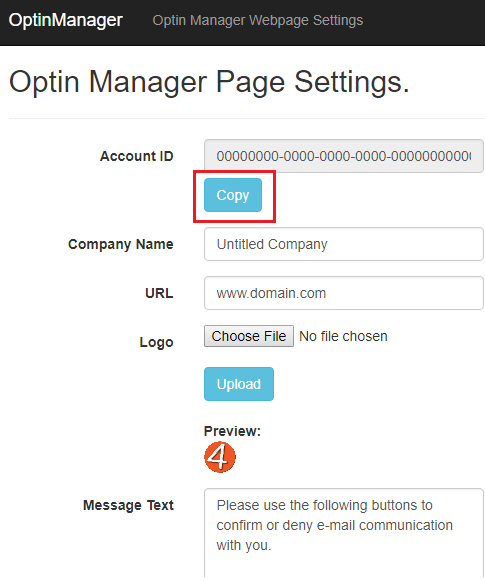
- Once registered and logged in, click the Optin Manager Webpage Settings link near the top of the page.

- On this page, you can enter your company name, URL, and a custom message that your Contacts will see once they click on the unique link sent by Optin Manager. You can also upload a company logo. Click the Copy button to copy the ID to your clipboard. Paste this ID in the Account ID field in the Optin Manager Act! plugin.
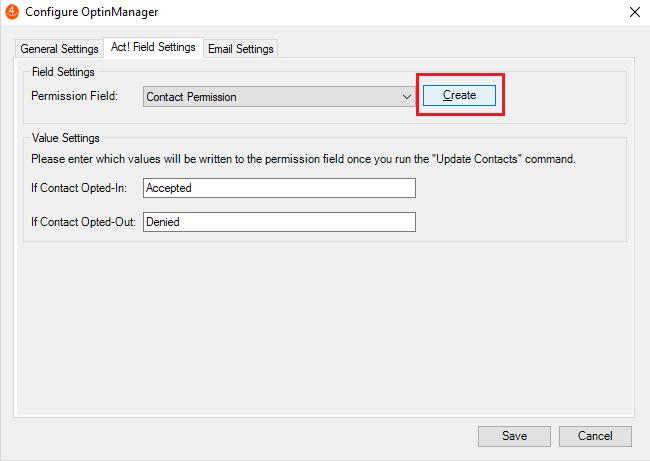
- If you did not allow Optin Manager to create a permission field at startup, and you wish to use another field, click the Act! Field Settings tab, and select the appropriate field from the Permission Field dropdown.
- In the Value Settings section, enter the values that will be used when running the update command and downloading your Contacts' choices. By default, these values are "Accepted" and "Denied"
- If you wish to create the Contact Permission field automatically, click the Create button.
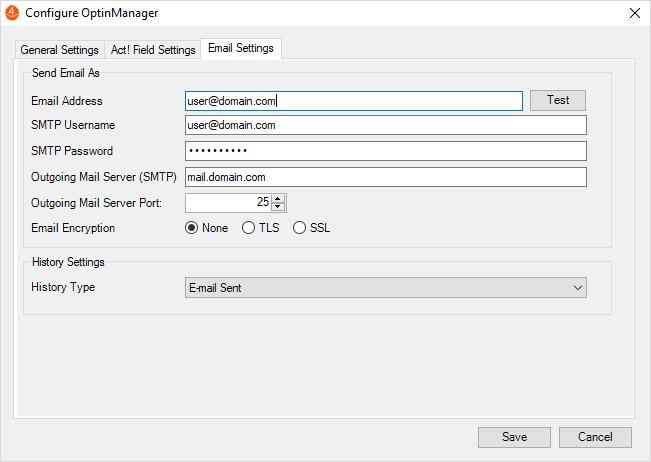
- In the Email Settings tab, enter your SMTP mail server settings. Since you will likely be sending our hundreds of emails, it is recomended that you sign up for a email service, such as www.sendgrid.com
If you wish to use your internal email server settings, please contact your email provider/IT Administrator and they should be able to assist you with entering the correct settings.
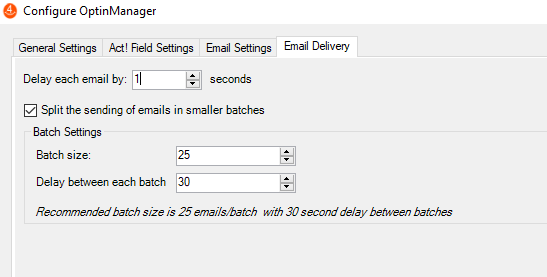
- Click the Email Delivery tab to define the settings which can be used to prevent your emails from being picked up by your email provider's anti-spam filters. It is highly recommended to use these settings if you are using your personal email server and not a email delivery service such as SendGrid. Below is a sample of the settings which should work with most servers but it is recommended to work with your IT department in order to determine the best settings for your email server.
- Click the Save button to save your settings.
- Perform a lookup of Contacts that you will be sending the permission email to. If this is your first time using Optin Manager, it is highly recommended that you test with your own Contact record by clicking Lookup > My Record
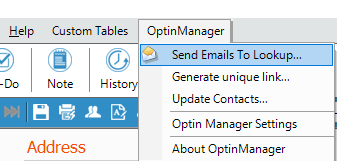
- Once a lookup is complete, click Optin Manager > Send Emails To Lookup
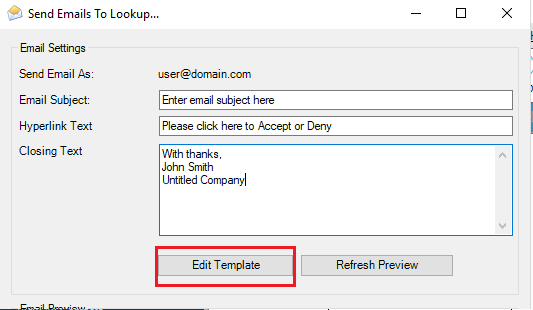
Enter an Email Subject and Signature which will be used to send the email to your contacts. If you wish to modify the hyperlink text that the user will click, enter it in the Hyperlink Text field. Click the Refresh Preview button to preview the email message.
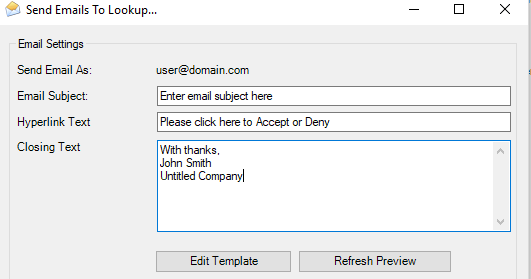
- If you wish to change the content of the email, you may click the Edit Template button, which will open up the email template for editing.
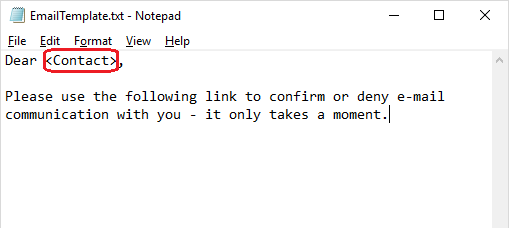
- Your email template will open up in notepad. If you wish to include any Contact fields in the template, please enclose the field name in angled brackets See highlighted sample below for an example for the Contact name field.
- After making the necessary changes, save and close the notepad file and click the Refresh Preview button to confirm the changes were saved successfully.
- Once satisfied with the template, click the Send Emails button. On the following popup, select whether you wish to send emails to the current contact, current contact lookup, or all contacts in your database. For testing, it is recommended that you lookup your own Contact record by clicking the menu Lookup > My Record and then selecting the Current Contact option. Once satisfied, you can send the email to the rest of your Contacts. Each contact will be sent a unique link which they can click to indicated if they wish to be contacted or not.
- If you need to retrieve the unique link for a particular Contact click the menu Optin Manager > Generate Unique Link
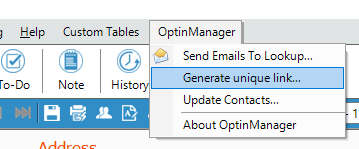
- After clicking this menu option, the unique link for that Contact will be copied to your clipboard. You may now past this in an email and send it to the Contact manually.
Updating Contact Permissions
- Once you have sent emails to your contacts, it is recommended to Update your database occasionally and download their choices.
- Click the menu Optin Manager > Update Contacts.
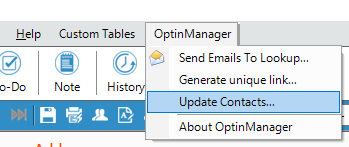
- All contact responses will be downloaded one by one. The Contact Permission field will be updated to reflect their choices and a history record will also be created for each contact.