Keystroke Designer Manual
Keystroke Designer is an add-on custom table product for Act! by Swiftpage that gives you the ability to add new custom sub-entities and it provides a framework for designing screens, relationships and calculations for those sub-entities. A sub-entity is another word for a sub-table. It is a table that must be related to a specific Contact, Company, or Group. Entities such as Contacts, Companies, and Groups are called Top-Level Entities. Top-Level Entities cannot be created using this tool.
Keystroke Designer has two major components. There is the Administration component and the End User component.
- Keystroke Designer Manual
- Keystroke Designer for Administrators
- Keystroke Designer for Users
Keystroke Designer for Administrators
With Keystroke Designer, the Administrator can:
- Build relationships between contact, company or group tables.
- Build relationships between custom tables allowing for parent-child relationships.
- Build screens with one or more embedded custom tables.
- Create new fields and field calculations.
- Use scripting to perform advanced calculations, task automation and to vary field appearance based on conditions (auto hide, change color and more).
- Design, color code and embed your layout screens.
- Use snippets and scripting to add new functionality easily in .NET.
- Import/export the Keystroke Designer customizations.
- Import data into your custom tables from any OLEDB-compatible data source, CSV file, Excel spreadsheet; or SQL, Oracle, or MS Access database.
- Synchronize and back up custom tables and customizations.
- Protect your database. Only the Act! Administrator can perform customizations.
Installation
Installation
If you have a previous version of Keystroke Designer installed, you must first uninstall it using Add/Remove Programs from the Control Panel.
Direct your web browser to http://www.act4work.com/files/Designer/ in order to download the latest version. When prompted, select Run to install Keystroke Designer.
After the software has been installed, you will see additional menu items in Act!.
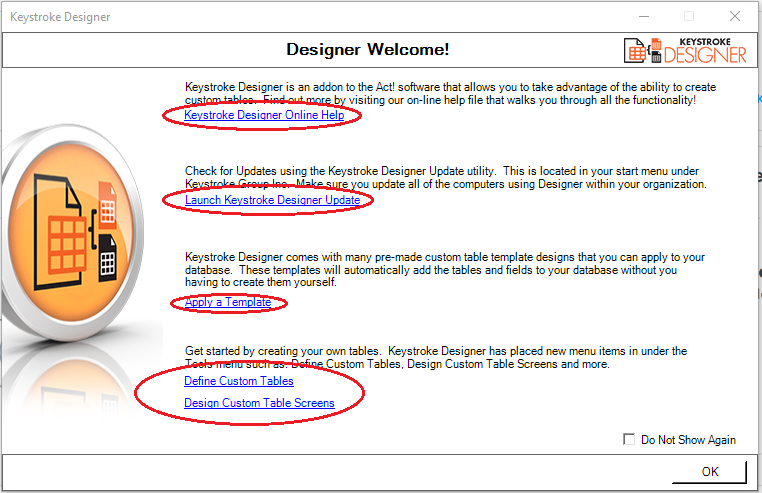
Welcome Screen
Once you open Act!, after the Keystroke Designer is installed, a Welcome Screen will provide you with quick links to some of the most requested resources.
Applying Preconfigured Template
The fastest way to get started is to apply one of the built-in templates provided. This will automatically add new tables and fields to your database to help you get started. Please note: It is strongly recommended that you back up your database before you continue.
- Open Act!
- Click on the Tools menu and select Keystroke Designer - Manager.

- Click on Apply a Database Template
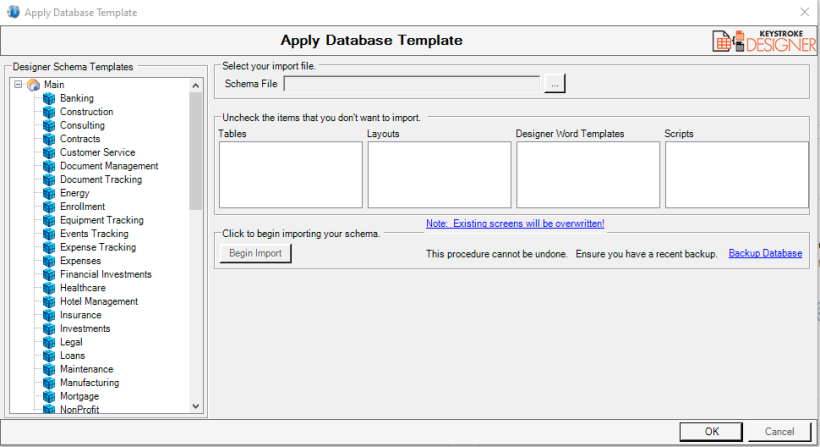
- Select a preconfigured template from the categories listed.
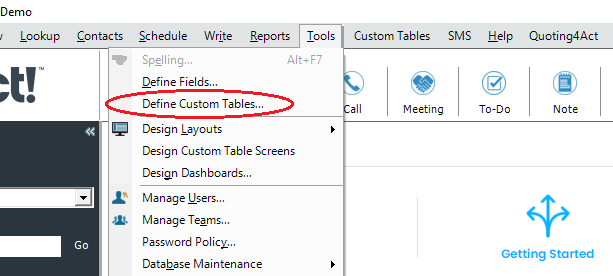
Create a New Table
Define Custom Tables
Creating a new sub-entity is easy.
- Open Act!
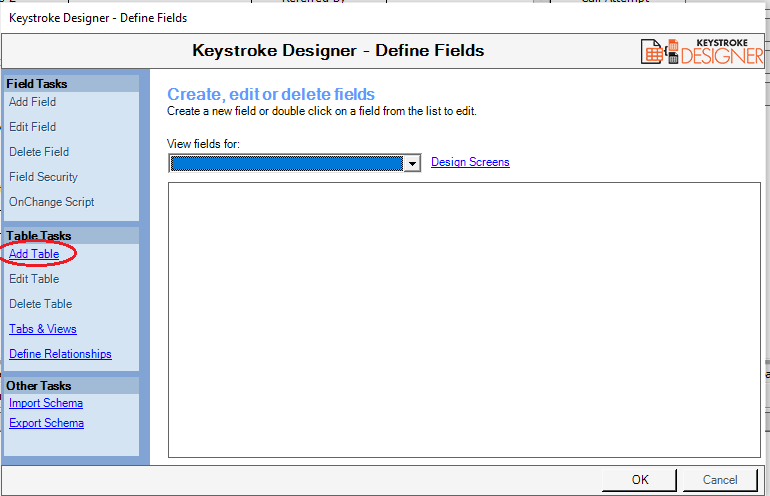
- Click on the Tools menu and select Define Custom Tables.
- . Click the Add Table link
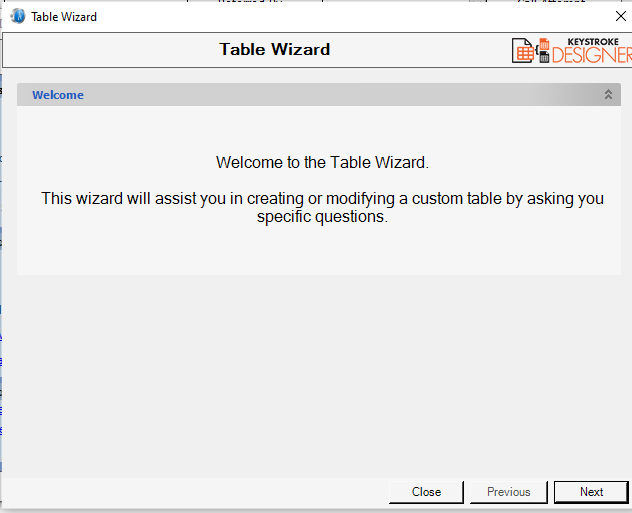
- A wizard will display to guide you through the process of creating a new table. Click Next to begin.
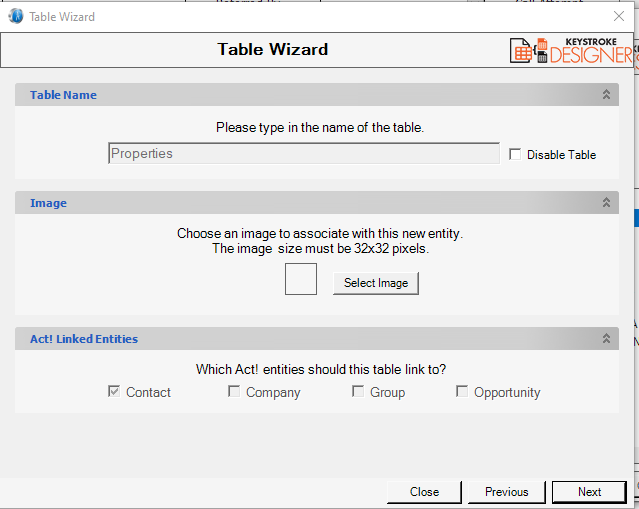
- Type the name of the table into the filed under Table Name. The table name is usually plural since multiple records will be stored within this table. Below, you will select the Act! primary entities you want to link this table. All custom sub-entities must be linked to one or more primary entities in Act!.
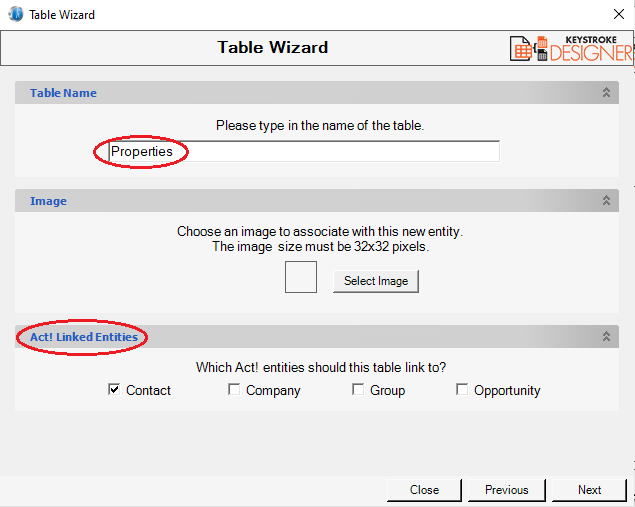
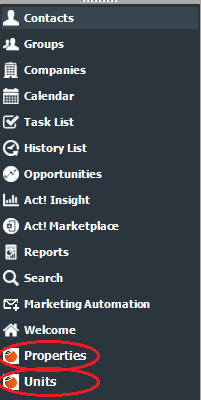
Uploading a small icon/logo image (32px x 32px) allows you to correctly display the table in the left navigation menu of Act!
- Table Properties
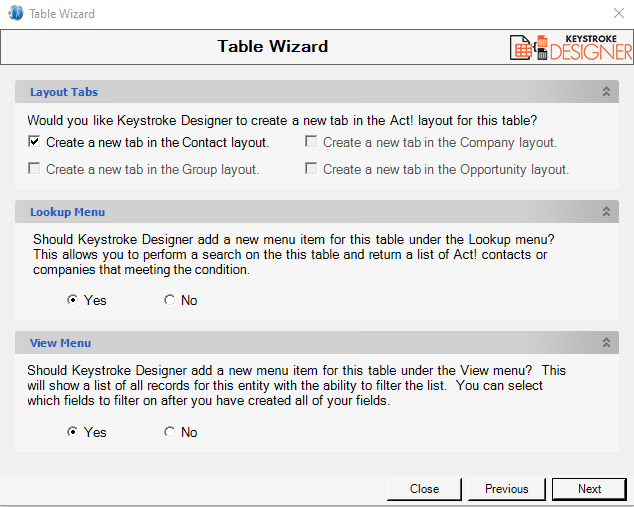
- Layout Tabs Placing a checkmark in these boxes will add a new tab to the contact, company or group layout for this table.
- Lookup Menu Selecting Yes will add a new menu item to the Lookup menu which allows you to perform a lookup on records in this table. The result will be a lookup of contacts, companies or groups:
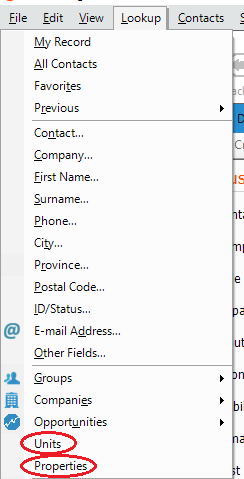
- View Menu Selecting Yes will add a new menu item to the View menu. This allows you to view and filter a list of all of the records in this table.

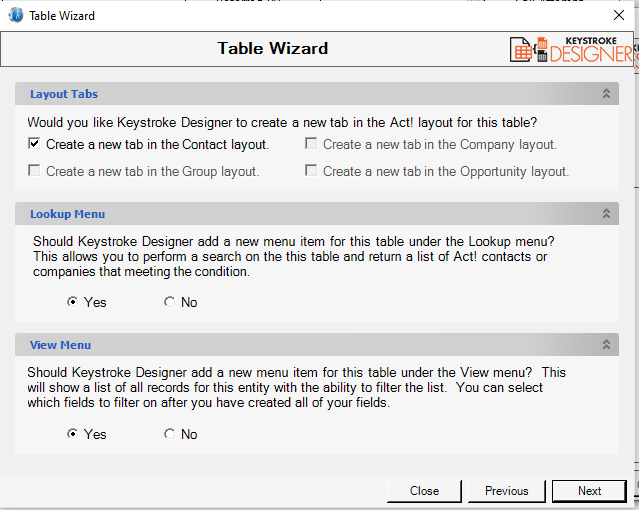
- Click the Finish button to create your table.
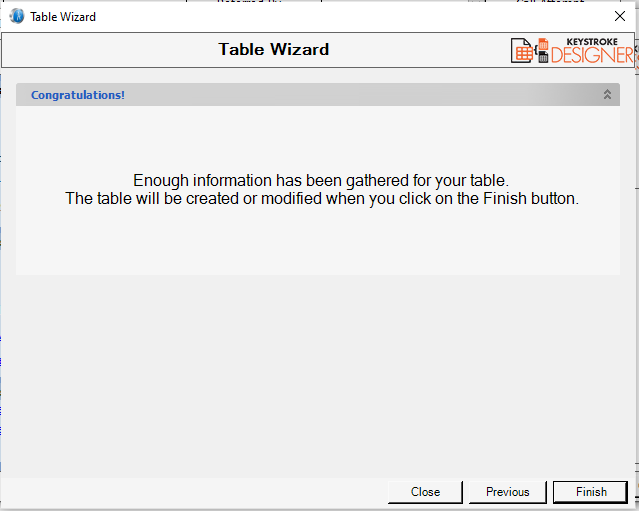
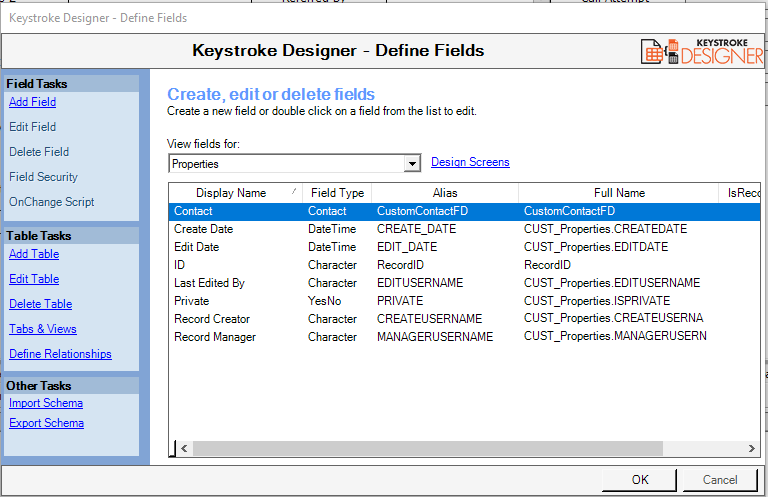
You will now see the fields for the new table on the screen.
Editing an Existing Table
Editing an existing custom table is easy.
- Open Act!
- Click on the Tools menu and select Define Custom Tables.
- Select the appropriate custom table from the dropdown and click on the Edit Table link:

- A wizard will display to guide you through the process of editing the table. Click Next to begin.
- The table name and ACT linked entities cannot be modified for existing tables.
- Table Properties can be modified.
- Layout Tabs Placing a check mark in these boxes will add a new tab to the contact, company or group layout for this table.
- Lookup Menu Selecting Yes will add a new menu item to the Lookup menu which allows you to perform a lookup on records in this table. The result will be a lookup of contacts, companies or groups.
- View Menu Selecting Yes will add a new menu item to the View menu. This allows you to view and filter a list of all of the records in this table.
- Click the Next button to modify your table.
Deleting an Existing Table
Deleting an existing custom table is easy.
- Open Act!
- Click on the Tools menu and select Define Custom Tables.
- Select the appropriate custom table from the dropdown and click on the Delete Table link
- A warning will appear that all data will be deleted and cannot be undone. Click Yes to continue.
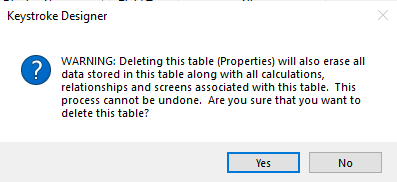
- A confirmation box will appear. Click Yes to actually delete the custom table.
Should an error occur while deleting a table, the following procedure should be used:
- Start ACTDIAG
- Detach the database from SQL.
- Close ACTDIAG
- Start ACT
- Open the database using the .ADF file to have SQL repair the database
- Delete the custom table again
Creating Fields
Numerous fields can be created in a custom table.
- Open Act!
- Click on the Tools menu and select Define Custom Tables...
- Select the appropriate custom table from the dropdown and click on the Add Field link
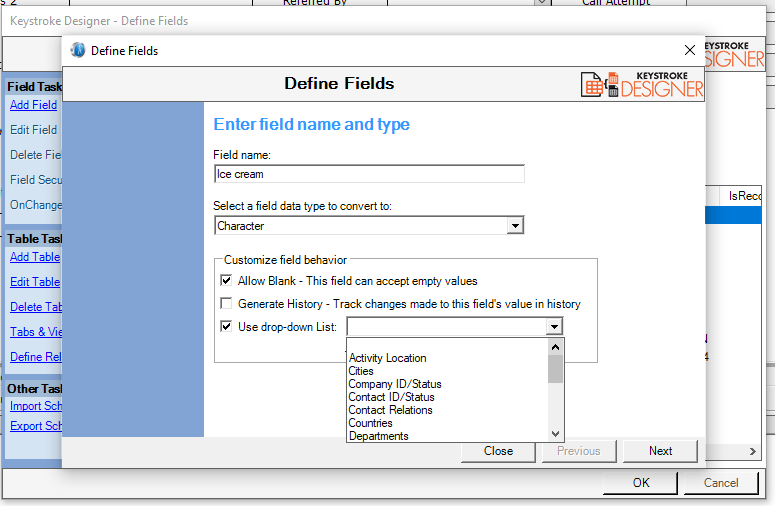
- Enter a name for the new field. Select the field type from the choices of:
- Activity
- Annual Event
- Character
- Company
- Contact
- Currency
- Date
- DateTime
- Decimal
- Group
- Initial Caps
- Lookup
- Lowercase
- Memo
- Number
- Opportunity
- Time
- Uppercase
- URL
- Yes/No
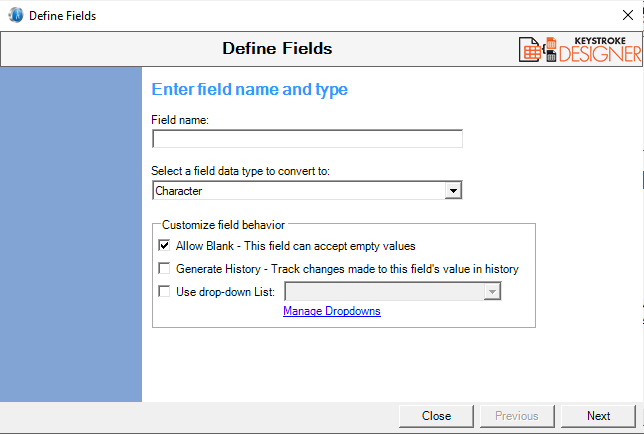
- The checkbox of Allow Blank indicates whether the field is required.
- A dropdown list can be assigned to the field (depending on the type). Designer allows you to access the dropdown management screen from this area.
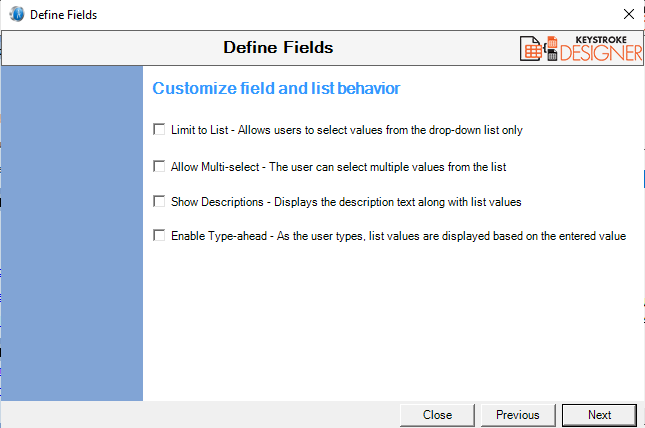
- An additional screen may appear when using dropdowns to Limit to List, Allow Multi-Select, Show Descriptions and Enable Type Ahead, just like typical ACT fields.
- An additional screen may appear depending on field type for Default Value and Field Length.
- Click Finish to create the new field and return the Define Fields screen.
Editing Fields
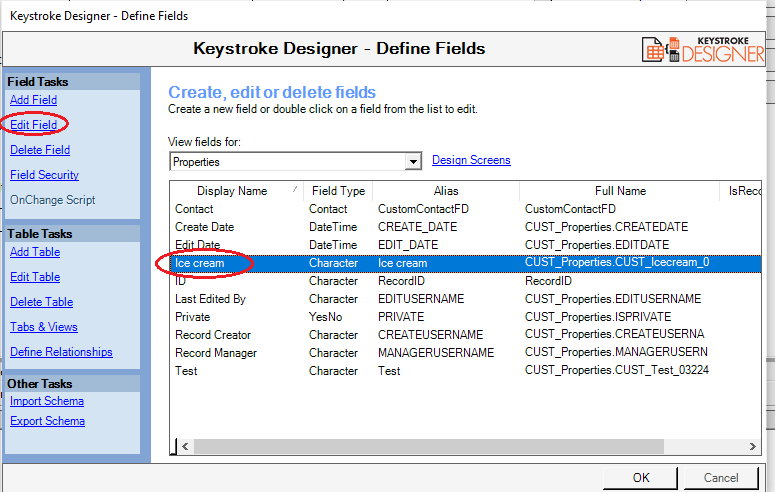
Like typical Act! fields, custom table fields can be edited and have their properties changed. NOTE: System custom table fields cannot be edited.
- Open Act!
- Click on the Tools menu and select Define Custom Tables...
- Select the appropriate custom table from the dropdown, highlight the desired custom field and click the Edit Field link
- Make the appropriate changes and click Finish to return to the Define Fields screen.
Deleting Fields
Just like typical ACT fields, custom table fields can be deleted. NOTE: System custom table fields cannot be deleted.
- Open Act!
- Click on the Tools menu and select Define Custom Tables...
- Select the appropriate custom table from the dropdown, highlight the desired custom field and click on the Delete Field link
- A confirmation dialog will appear, warning that deletions cannot be undone. Press Yes to delete field and return to Define Fields screen.
Assigning Field Security
Like typical Act! fields, custom table fields can have field level security, both default and by individual user. NOTE: System custom table fields cannot be edited.
- Open Act!
- Click on the Tools menu and select Define Custom Tables.
- Select the appropriate custom table from the dropdown, highlight the desired custom field and click the Field Security link.
- Set the default permission from:
- Full Access - allowed to view and edit
- Read-Only - allowed to view
- No-Access - blank field regardless if value present
- The default permission can be overwritten for an individual user by highlighting the user and pressing the Edit button.
- Choose the appropriate access level and press OK.
- Press OK to return to the Define Fields screen.
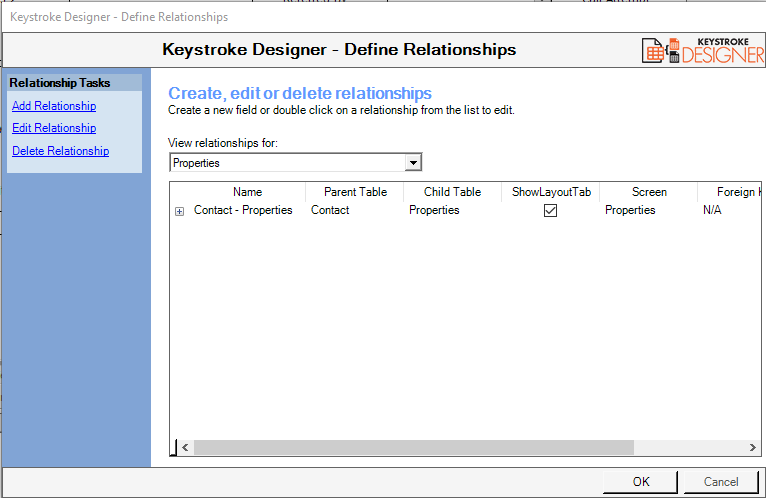
Defining Relationships
By default, a relationship is established between Contacts, Companies and Groups with the nearly created Custom Table. One record in the Parent (i.e. Contacts), can have many Child records (i.e. Custom Table) associated with it. This type of relationship can also be created between two custom tables. For example, a custom table could contain Service Contracts and a second custom table could contain Service Tickets. There can be several Service Tickets associated with each Service Contract. TKeystroke Designer allows these types of relationships to be built.
Add Relationship
To build a new relationship between existing custom tables is easy.
- Open Act!
- Click on the Tools menu and select Define Custom Tables...
- Click the Define Relationship link.
- Click the Add Relationship link.
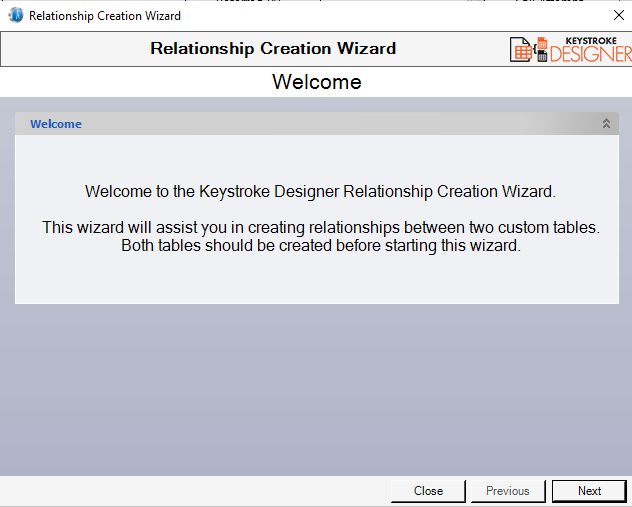
- The Relationship Creation Wizard will appear. Click Next to begin.
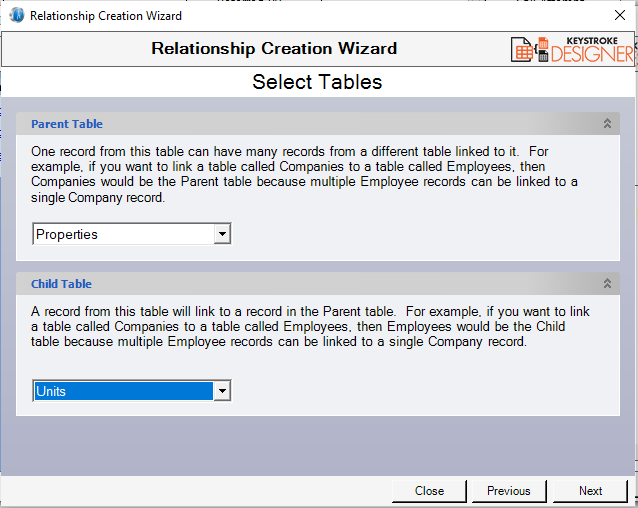
- Select the Parent Table from the dropdown and the Child Table from the dropdown. Click Next.
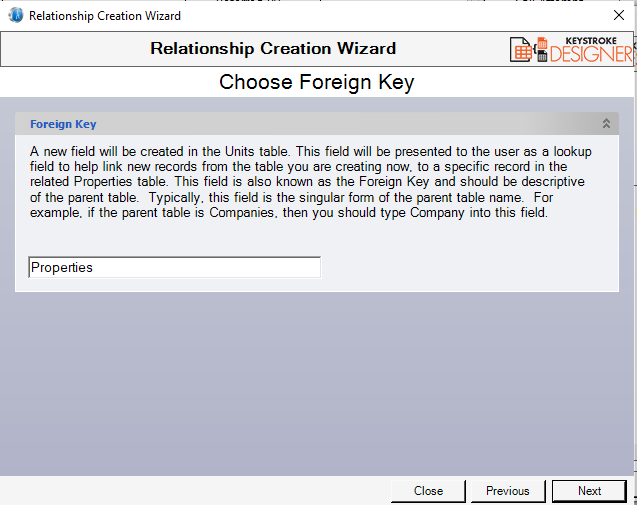
- Assign a name to the newly created key which will link the two fields. This Child Table field will hold the special key linking the two tables. Click Next.
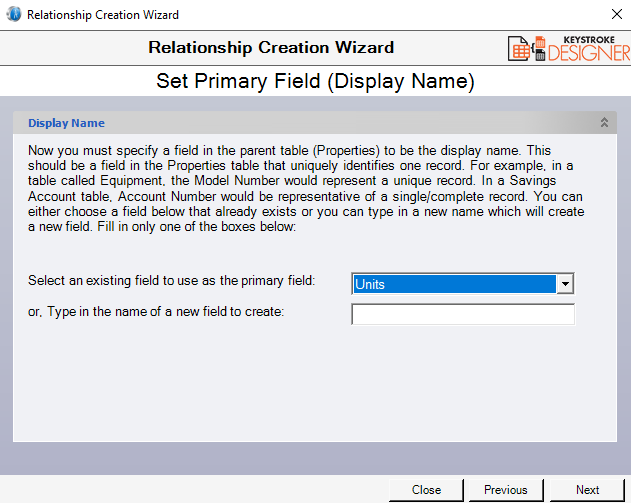
- Select the field in the Parent table which will identify it from the Child table or create a brand new field. Click Next.
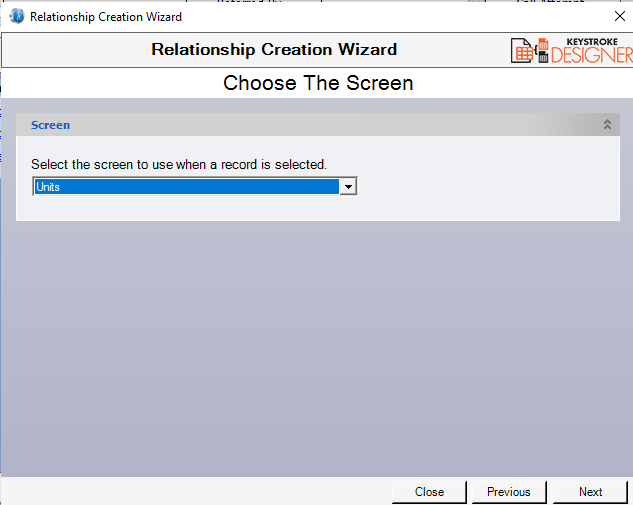
- Select the screen to use when a record is selected.
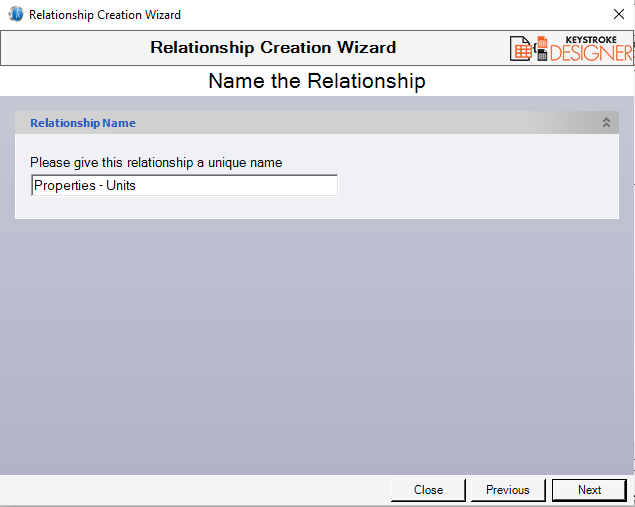
- Give the relationship a unique name. Click Next.
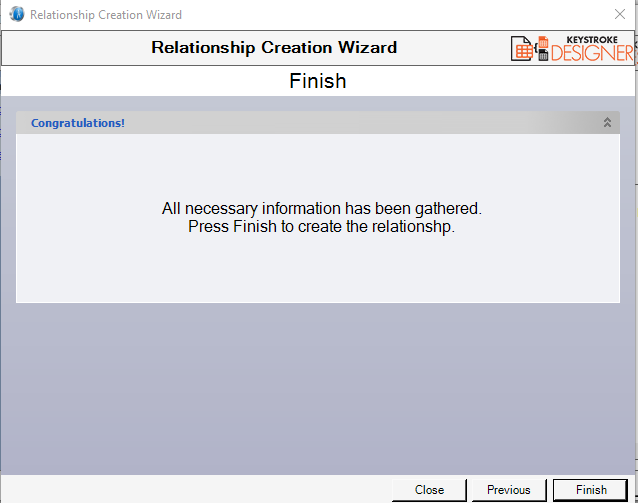
- Click Finish to create the relationship
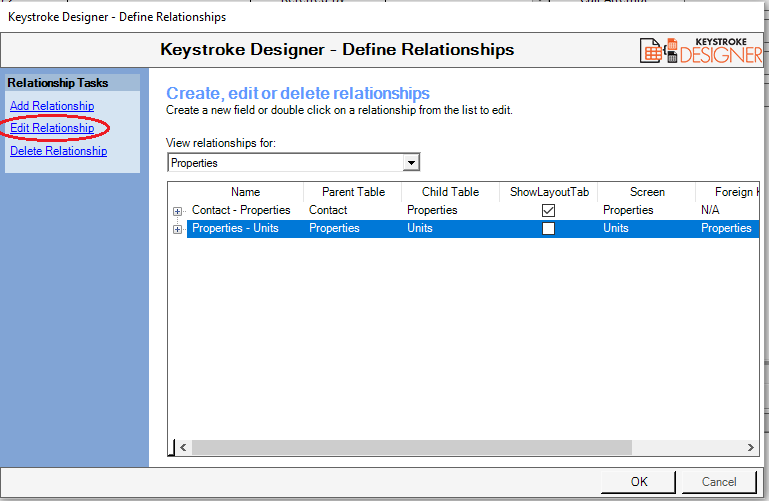
Edit Relationship
To edit a relationship between existing custom tables is easy.
- Open Act!
- Click on the Tools menu and select Define Custom Tables.
- Click on the Define Relationship link.
- Highlight the relationship, and click the Edit Relationship link.
- The Relationship Creation Wizard will begin. Click Next to start.
- The Parent and Child tables cannot be changed. Chick Next.
- Modify the existing properties of the relationship as necessary.
- Click OK to return to the Define Fields screen.
Delete Relationship
To delete a relationship between existing custom tables is easy.
- Open Act!
- Click on the Tools menu and select Define Custom Tables.
- Click on the Define Relationship link.
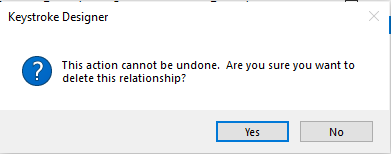
- Highlight the Relationship and Click Delete Relationship link
- A confirmation dialog box will appear warning that the action cannot be undone. Click Yes to delete the relationship.
- Click OK to return to the Define Fields screen.
NOTE: No data in either the Parent or Child will be deleted or altered with the deletion of the relationship.
Managing Custom Table Screens
'Screens' in Keystroke Designer have the role of layouts in Act! and allow you to design the way users will enter data into the custom tables. The Administrator can perform the following operations on a master database with Keystroke Designer:
- Create a new custom table screen
- Edit the attributes of an existing custom table screen
- Delete an existing custom table screen
- Assign VB.NET scripts (snippets) to perform custom functions
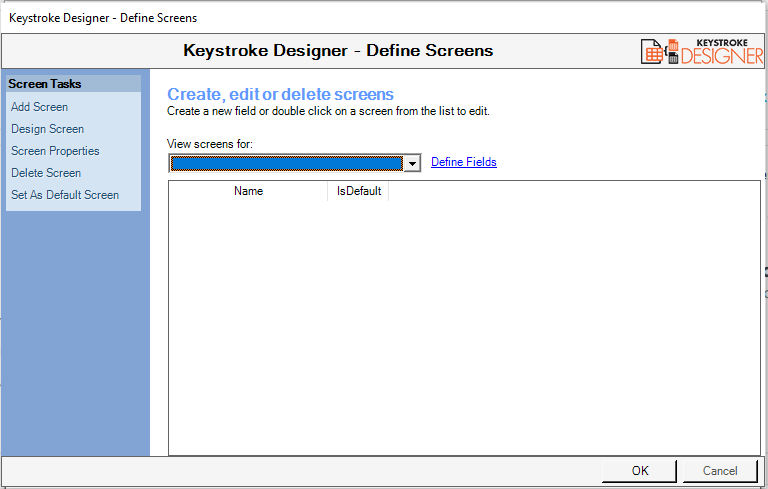
Adding a New Screen
A blank, default screen will automatically be created upon custom table generation. However, creating a new custom table screen is easy.
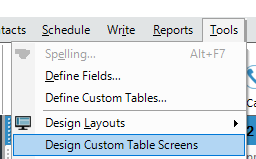
- Open Act!
- Click on the Tools menu and select Design Custom Table Screens...
- Select the custom table and click on the Add Screen link.
- Type the name of the new screen, set the maximum number of rows and columns, and click Next.
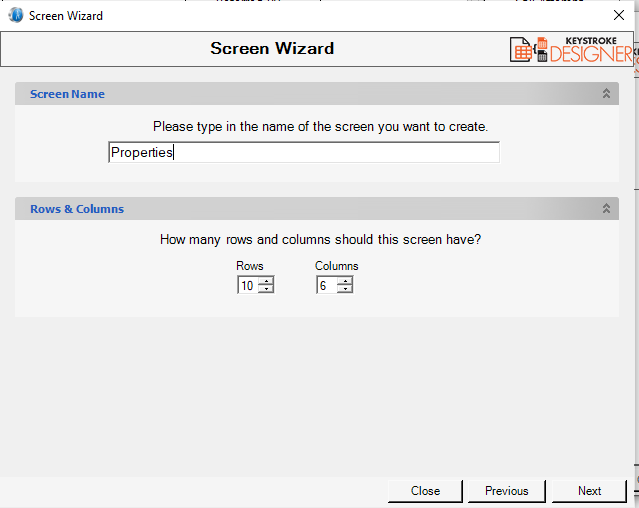
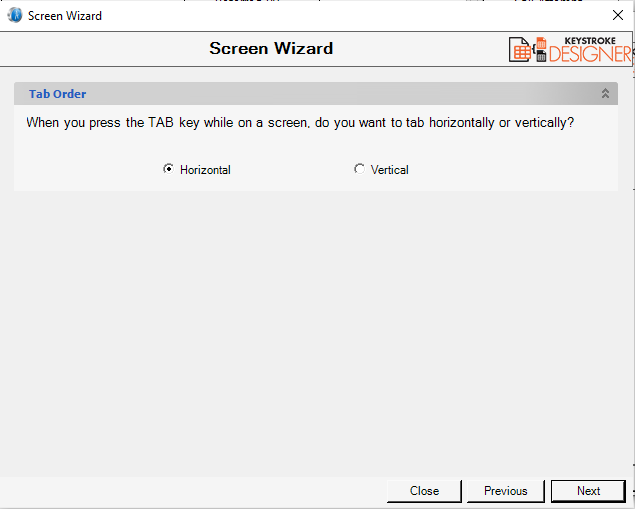
- Select either Horizontal or Vertical tab order, then click Next
- Click Finish to create the new blank screen and return to the Define Screens window.
Changing Screen Properties
- Open Act!
- Click on the Tools menu and select Design Custom Table Screens.
- Select the custom table and click the Screen Properties link.
- Change the name of the new screen, set the maximum number of rows and columns, and click Next.
- Select either Horizontal or Vertical tab order, click Next.
- Click Finish to commit the changes and return to the Define Screens window.
Deleting a Screen
A custom table screen can be deleted at any time, but just ensure that no relationship is using the custom table screen.
- Open Act!
- Click on the Tools menu and select Design Custom Table Screens.
- Select the custom table and screen, click the Delete Screen link.
- Click YES to confirm the deletion.
- Return to the Define Screens window.
Designing a Screen
Place fields on the blank screen by:
- Open Act!
- Click on the Tools menu and select Design Custom Table Screens.
- Select the custom table and click the Design Screen link.
- The Custom Entity Screen will appear.
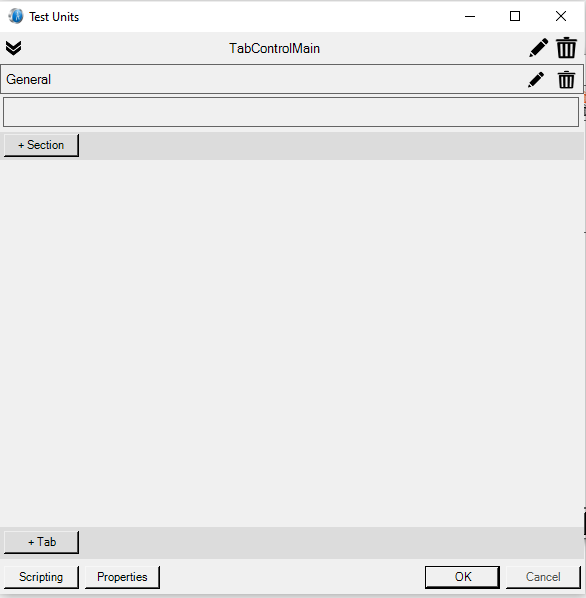
- The Custom Table Screen is now ready to add fields, images and scripts.
Adding Fields
Fields from the custom table or a grid containing all the immediate child records may be displayed on the custom table screen.
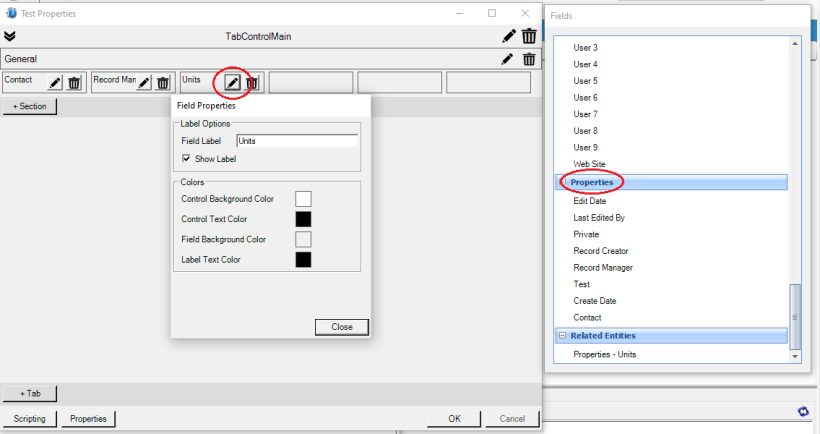
- Click the Edit Icon to indicate the number of Columns required
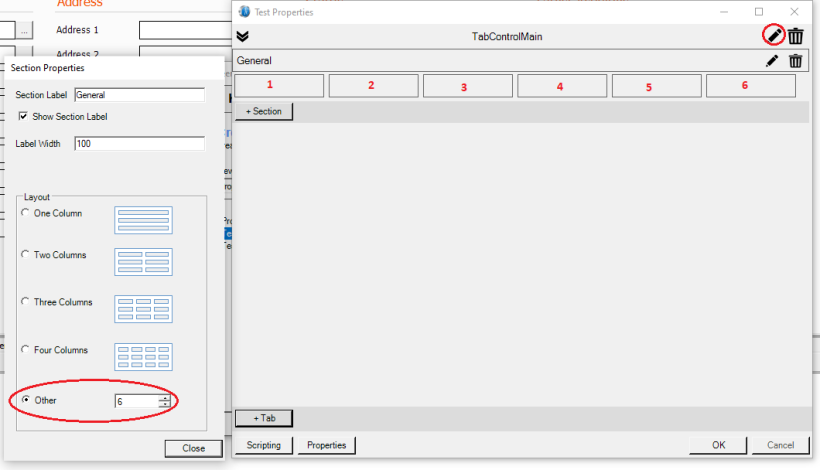
- Drag fields into newly created columns, and adjust display properties from the Edit Icon.
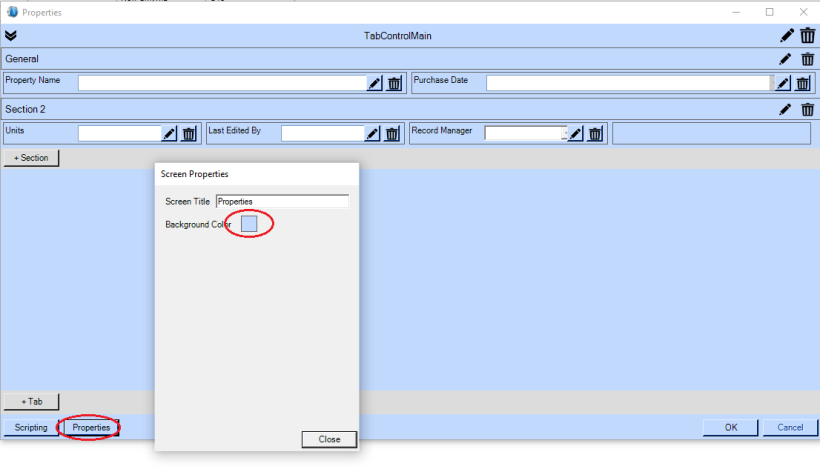
- You can change the background colour of the screen by clicking the properties button and the colour selector.
- Scripting can be accessed via Scripting button. If you need custom scripting, you can request scoping by emailing [email protected] .
Keystroke Designer for Users
For the Act! Windows user:
- View tables interactively, go to the corresponding contact, company or group.
- Drill down on custom tables to access the detail view.
- Create a contact, company or group lookup.
- Click to sort or filter in the list view.
- Create robust queries and apply date ranges.
- Perform advanced calculations among fields and in the list view.
- Create activities or histories based on custom-table fields.
- Generate email notifications.
- Modify field appearance (auto hide, change color) based on conditions.
- Drag and drop fields to group and organize your custom lists.
- Organize, sort or query your documents.
- Export list views to MS Excel.
- Merge custom-table fields into MS Word to create documents and templates.
- Synchronize your customizations and data.
- Integrate with Keystroke Dash for enhanced reporting and graphical views.
- Automate your Excel or PDF custom table reports using Keystroke Dash Alerts.
Using Designer Tabs
Keystroke Designer Custom Table data is displayed as a tab under the Contact, Company or Group layout (as controlled by the Act! Administrator) and are always right of the main Act! tabs. Tab names are controlled by the Screen names.

List Views in Keystroke Designer
- Click on the blue columns icon
- Use the left and right arrows in the middle of the dialog box to add and remove columns from the view. Use the up and down arrows on the right of the dialog box to change the order of the columns. Click OK when finished.
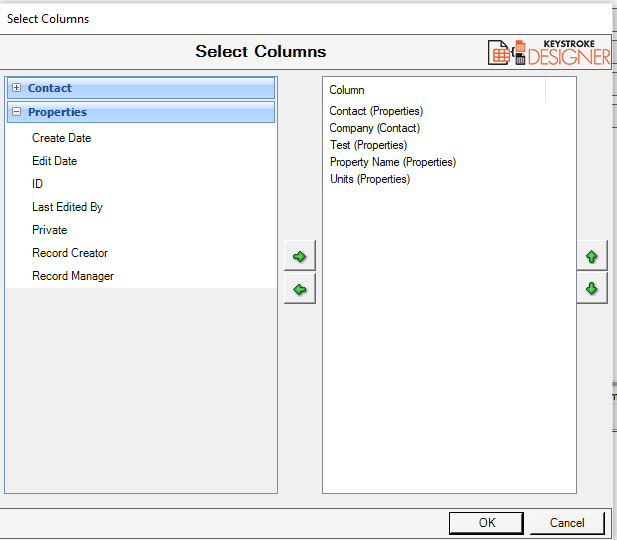
- The new view appears with the selected columns in the selected order.
Replace Values
Values can be replaced in multiple Custom Table records.
- Highlight the row (or rows using CTRL-click), and then right click to display the context menu. Select Replace Values
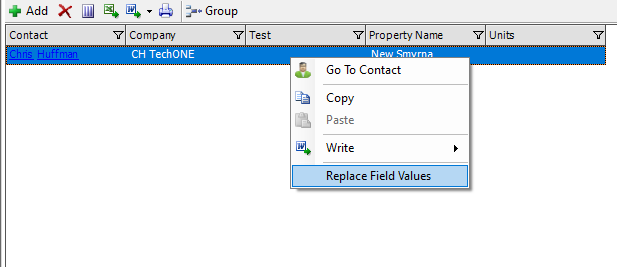
- The Replace dialog box will appear. Select a method (Replace or Append), a field and enter a value. Click OK.
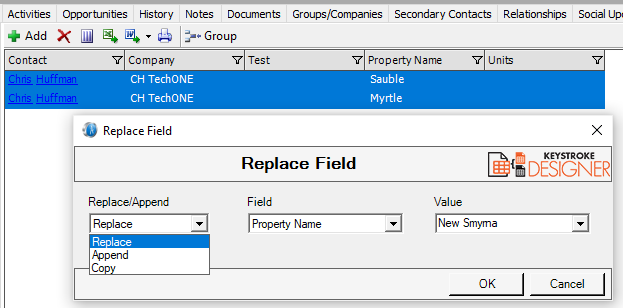
- The new values will appear in the tab.

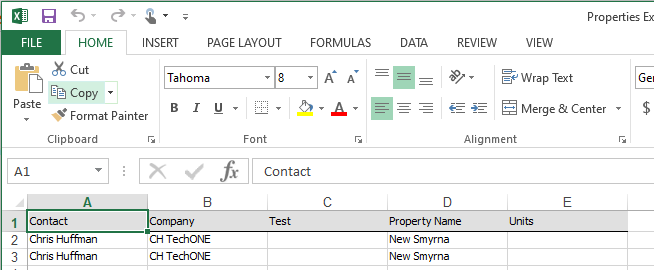
Exporting to Excel
Export to Excel.
- Select either the Tab view or the list view. Note that the Export to excel will keep the settings you have from sorting, filtering, columns, and grouping as well

- Select the location on your computer.
- Data from tab appears in an Excel spreadsheet