Importer4Act Set-up
Installation
Download the setup file from: https://www.act4work.com/files/Importer4Act/
And then run the file to install the application.
Features
To Run the program:
- Double click on the Importer4ActInstaller exe file.
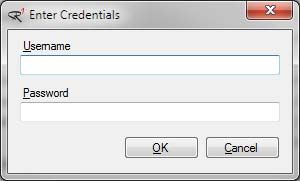
- Enter your ACC Admin pack credential and press ok, or enter your license key provided with purchase
- You are now read to use Importer4Act, you should see the following screen.
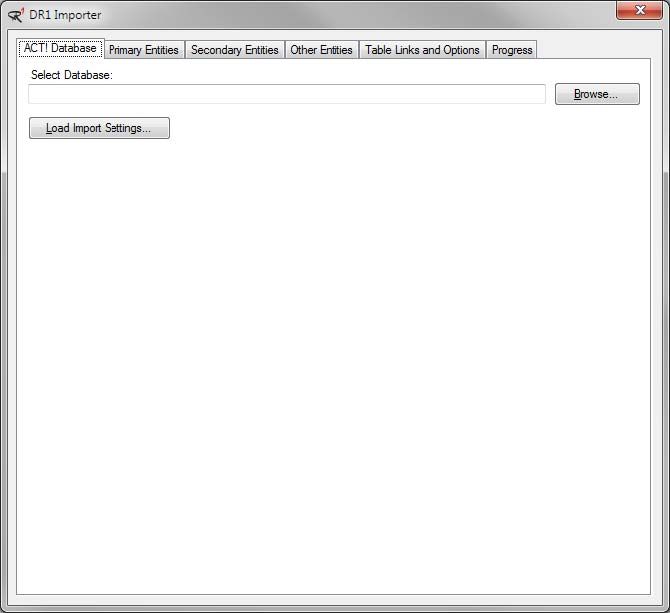
Importing a Database
- Select the database you’ll be importing to by pressing the “Browse…” button.
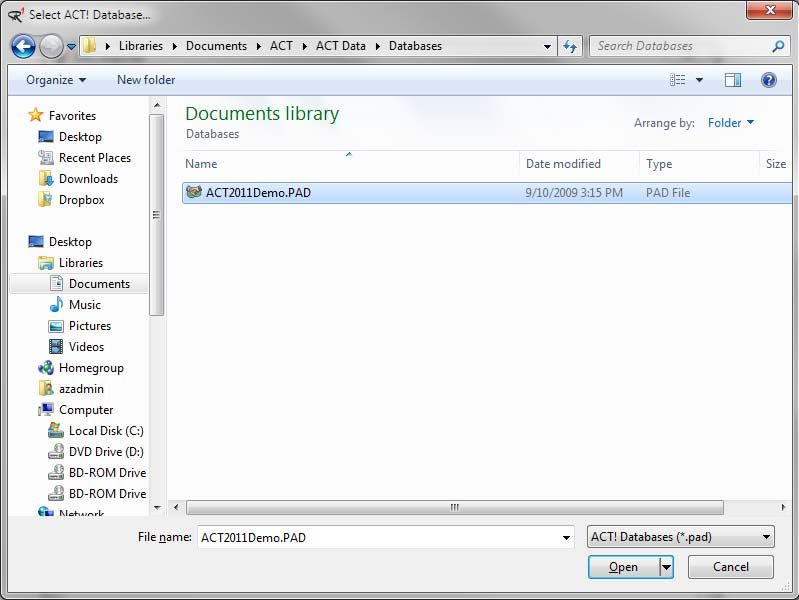
- Press the open button to choose your selected database.
- You will be prompted for your username and password to log into your chosen database.
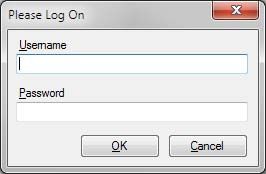
- Next press the “Primary Entities” Tab
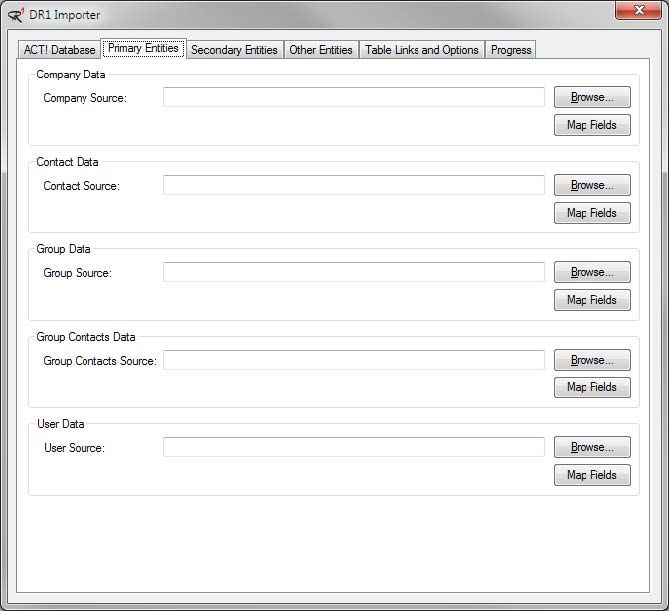
- The recommended order for mapping the primary entities to you new database are:
- Users
- Companies
- Groups
- Contacts
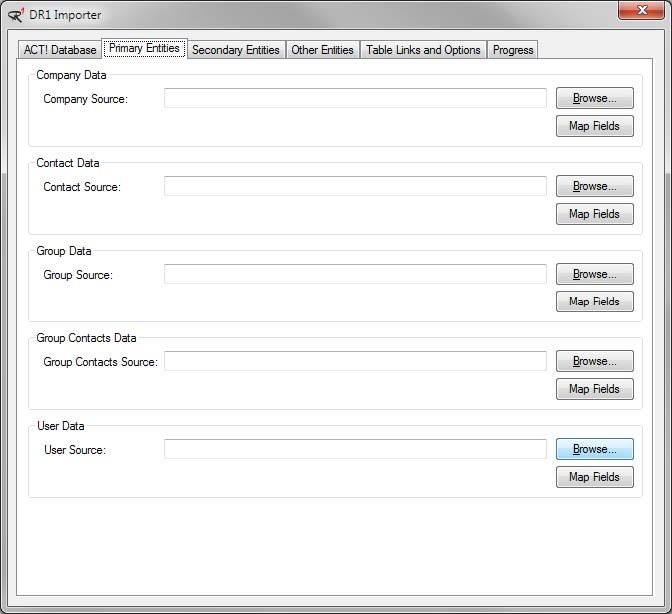
- Click the “Browse…” button on the right hand side of the User Data block
- Select the source file for your user data (csv,txt,mdb,accdb,xls,xlsx,xml)
- You will then be prompted to select the table from your source file to map.
- Press OK to continue.
- Your selected file and table will then be displayed on the primary entities tab.
- Now Press the “Map Fields” Button located below the Browse button used to select your source database
- A new screen will appear with all of the source fields listed out for you to map to your destination fields in ACT!
- Select the destination field from the dropdown in the ACT! Field column for each of the source fields you’d like mapped into your destination ACT! database.
- On entities where fields can be created there is an option [Add New Field] in the ACT! Field dropdown. If selected you can type in the new field name and select a field type to be created. The name of your new field will be displayed in then ACT! Field column and be added to the ACT! field dropdown.
- Once you’re done mapping your fields you can press the “Save Map” Button to saving the mapping to a dmap file for later use.
- It is also recommended on entities where the Select ID Field appears that you map the id field on source database so that if an import needs to be re-done or fields that were not mapped can be mapped at a later time.
- Press OK on the field mapping screen to continue.
Support
If you are experiencing problems or have questions please contact our support team at: [email protected]