Constant Contact Integration Manual
Constant Contact Integration for Act! Usage:
Constant Contact Integration for Act! currently offers three functions.
- Manage Contact Email Lists
- Schedule a Campaign to an Existing Contact List
- Import Campaign Responses back to Act!
Important differences between Act! and Constant Contact
Although both systems use the word "Contact" to describe the data they work with, there are important differences.
In Act!, a Contact can have multiple Email addresses. Multiple Contacts can have the same Email address. A Contact can have other data such as name and address, and again these values do not have to be unique. A Contact can be in zero or more Groups or Companies along with other Contacts.
In Constant Contact, a Contact is uniquely identified by its Email address. A Contact is an Email address and a fixed set of other data. A Contact can be in zero or more Contact Lists. Any attempt to create a second Contact with the same Email address is interpreted as just an update to the existing Contact.
As such, the following two things happen when moving data between Act! and Constant Contact:
- When exporting Contact data from Act! to Constant Contact, matching Email addresses just update what will be a single Contact in Constant Contact. Which values in the other Constant Contact data fields came from which Act! Contact is unpredictable.
- When importing Campaign Responses back into Act!, the created Act! History records will be recorded against ALL Act! Contacts with the matching Email address.
Logging On to Constant Contact
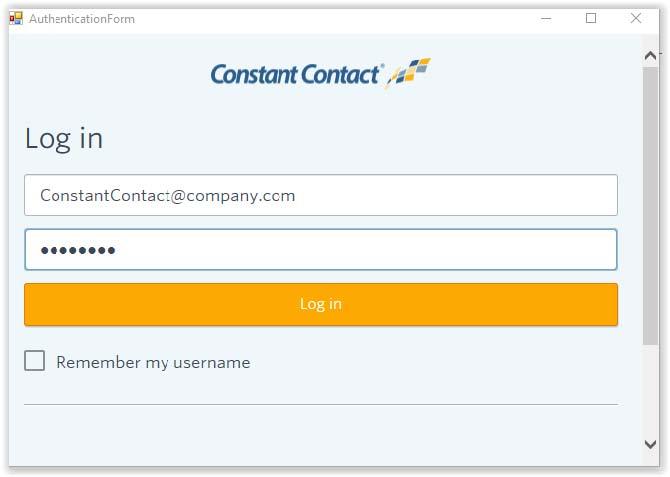
The first action taken by the Constant Contact Integration for Act! will require you to log on to your Constant Contact account using your email address and password. Two boxes will pop up. The first will allow you to enter your Constant Contact account email address and password.
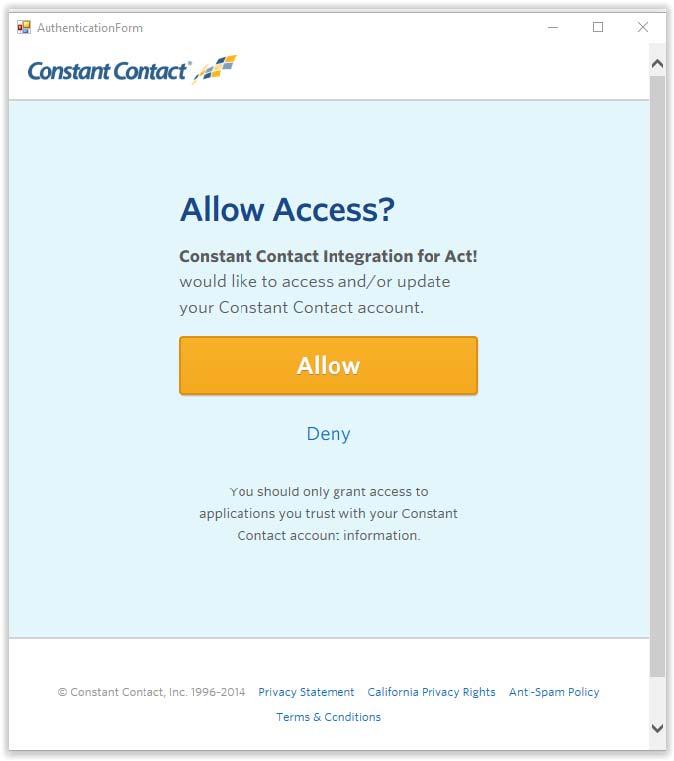
You will then get a second box requesting you to allow access to your Constant Contact account from the Constant Contact Integration for Act! application. You must click Allow for the integration to work.
Once you have successfully logged on your access is retained on that computer via an Access Token. If you want to log off Constant Contact or switch to a different Constant Contact account you can use the Clear Access Token/Log Out of Constant Contact menu action. You will get a confirmation that you want to log out.
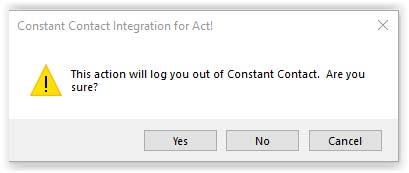
Click OK and the stored Access Token is cleared. Your next action using Constant Contact Integration for Act! will ask you to log on again.
Manage Contact Email Lists
Here are the fields that are uploaded from Act! to Constant Contact.
- Email Address
- First Name
- Last Name
- Birthday Day
- Birthday Month
- Home Phone
- Address 1
- Address 2
- City
- State
- Country
- Zip/Postal code
- Company Name
- Job Title
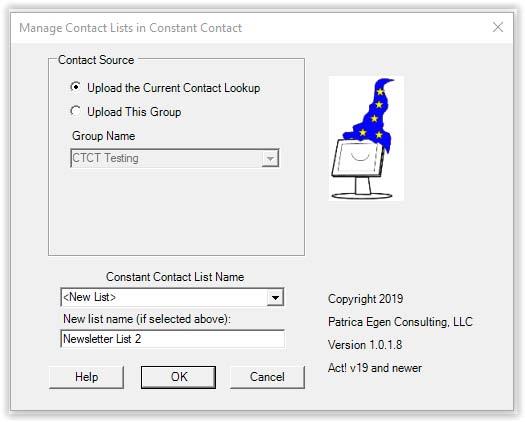
You can upload an Act! Group or the Current Contact Lookup. You can upload the Current Contact Lookup only if you invoke the Manage Contact Email Lists function while viewing the Contact List.
You can upload to an existing Constant Contact Email list or create a new one by selecting the option and typing a name in the New List Name box.
Schedule a Campaign to an Existing Contact List
You may schedule a campaign from inside Act! using the Schedule a Campaign to an Existing Contact List menu action

This action schedules a campaign that you have previously developed in the Constant Contact web interface that is in Draft mode to a Contact List that was either previously uploaded using the Manage Contact List function or otherwise developed in the Constant Contact web interface. You can schedule it to run immediately (actually 20 minutes in the future) or at a specified other future time.
Note: The scheduling no sooner than 20 minutes in the future is a limitation of the Constant Contact programming interface. If you want to schedule the campaign to send as soon as possible, this can be done via the Constant Contact Web interface.
No recording of any history in Act! occurs during this operation. All recording of attempted sends and their results is performed using the Import Campaign Responses function.
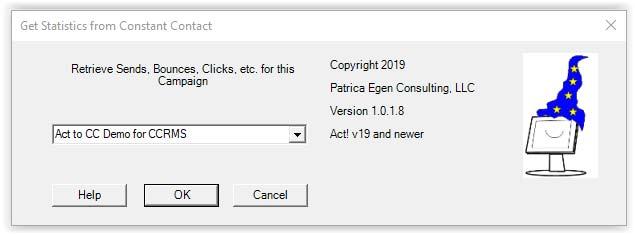
Import Campaign Responses back to Act!
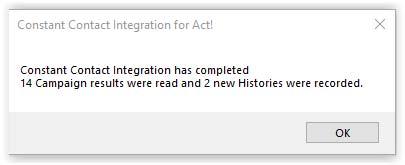
You can get campaign send and response results from any Constant Contact Campaign in your account that is in the SENT state. Matching to Act! Contact records is done by matching the email addresses reported from Constant Contact. If multiple Act! Contacts have email addresses that match the email address reported by Constant Contact then an appropriate History record will be recorded against each one.
The Act! History types used are Send Campaign and Campaign Results. These are the same History Types used by the Act! E-Marketing (AEM) component. History records are created for Campaign Send, Email Opened, Link Clicked, Email Bounce, Unsubscribe/Opt-Out, and Forward. The History records can be found in the History tab of the individual Contact Detail views or can be searched/selected in the global History List view. From the History List it is possible to export the list to Excel if you want to do other sorting/editing/etc.
Note: The Contact data need not have originated in Act!. As long as a matching email address can be found Act! History records will be created.